Summer is a great time to start kohlrabi from seeds, but watch out for that intense heat
I have grown kohlrabi before, but up until this season, I have always done it in spring. I usually start the seeds in pots in the middle of March, then move the plants to the garden or to the allotment by the end of April and harvest the bulbs some time in June…
Now, this year I decided to plant it in summer as well. I wanted to see if this cool season vegetable would grow quickly enough throughout the late summer and early fall to yield a harvest before the first hard frost, which usually occurs in November.
Since I had never tried it before, I wasn’t sure what to expect. Well, the kohlrabi did not disappoint. It produced lots of tasty bulbs – with the first ones ready for harvest in less than three months from when I started the seeds!
However, not everything went as smoothly as I thought it would. Continue reading this blog post to discover the challenges I faced while growing kohlrabi in summer and early autumn – and how I overcame them…
Starting the seeds
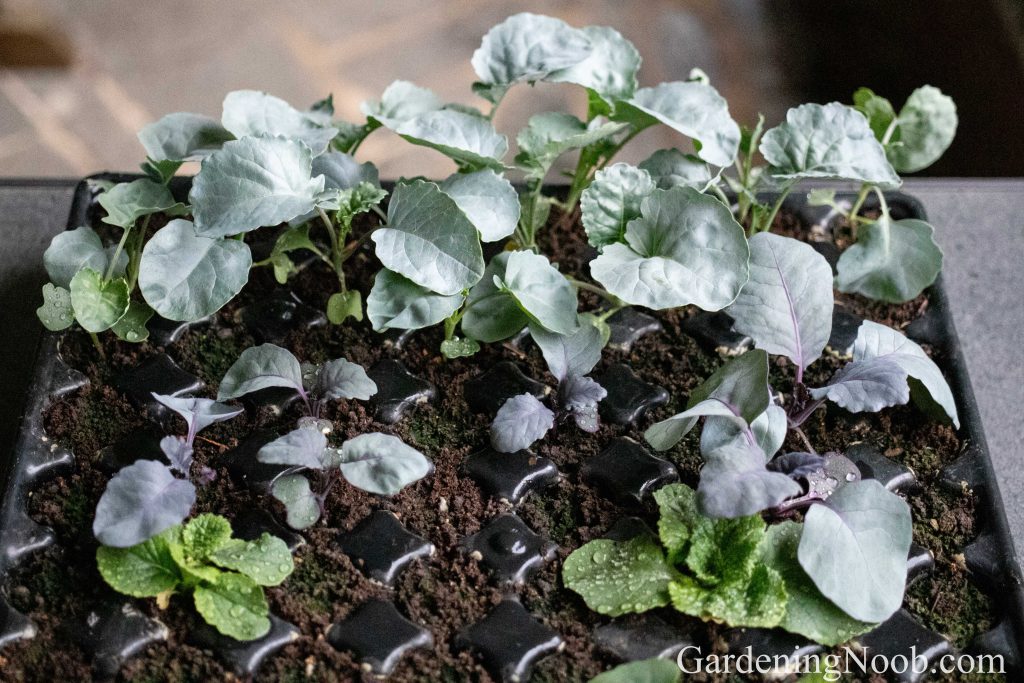
I started the seeds on the 11th of July using the so called paper towel method. The seeds needed about three days to sprout. After they sprouted, I planted them in the seed-starting cell tray which I filled with the organic potting soil – the one I use for all my seedlings in the last couple of years. I mixed some guano fertilizer in it too.
I planted only one sprouted seed in each soil-filled cell to avoid thinning later on. Once I was done, I watered the tray from the bottom up and placed it on the balcony where I raise vegetable seedlings.
Raising the seedlings
Looking back, I wish I had started the seeds in a cell tray with larger cells. You see, once the seeds emerged out of the soil as plants – which only took a few days – a spell of hot summer weather began…
It was then very difficult to keep those seedlings alive. The cells of the tray I chose very small. And the sun with its intense heat dried out the soil in those cells incredibly fast. I had to move the tray to the shade during the hottest parts of the day and water it daily which came with its own problems:
- It was time-consuming.
- The soil was constantly soggy which could have led to damping-off and rot in the plants.
The kohlrabi was alright, but lots of other vegetable seedlings I started around the same time weren’t that lucky. Cauliflower, for instance, was hit the hardest by damping off. And almost all of the leafy greens (lettuce, endive, chinese cabbage and raddichio) experienced leaf rot.
Using cell tray with larger cells might not have solved the problem completely, but it certainly would have helped because the soil in them would stay moist for longer.
Up-potting the seedlings to single, larger pots
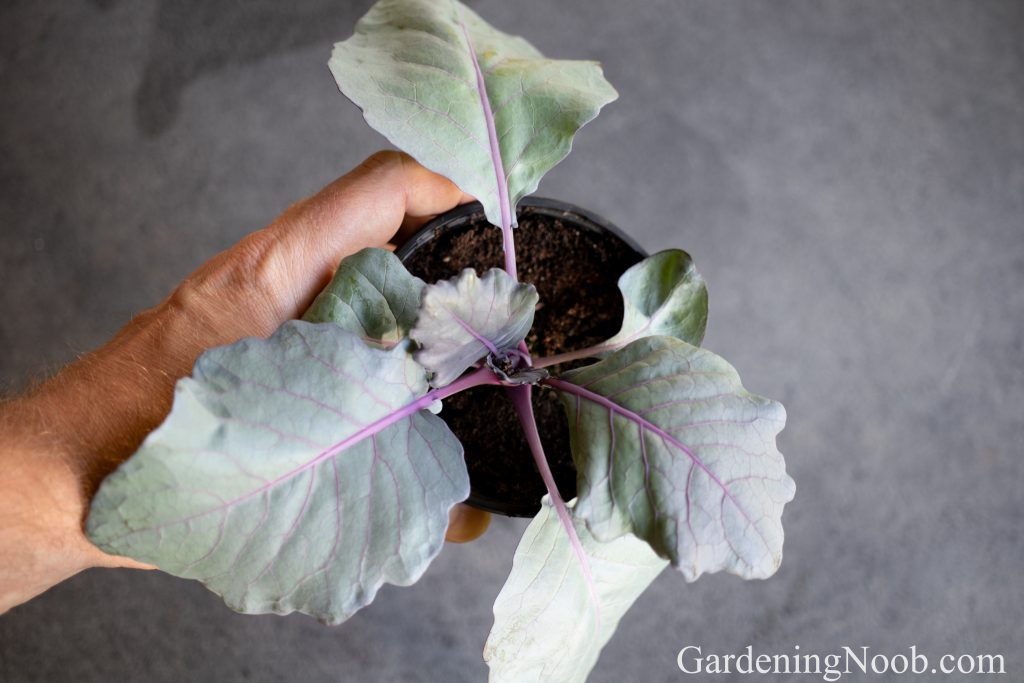
It seemed that the hot summer weather was to continue, so I decided to up-pot some of the plants – including kohlrabi – from a cell tray to single, larger pots to give them more growing space and help them cope with the intense heat more easily. I did it on the 1st of August.
I got a new supply of earthworm castings a few days earlier, so this time, I mixed that with the potting soil instead of the guano fertilizer. I was careful not to disturb the roots during the up-potting process. I also made sure the plants remained at the same depth as they were in the cell tray.
The plants grew rapidly over the next ten days, partly because of the weather as well. It became significantly cooler, but there was also lots of heavy rain with devastating floods all over the country.
Moving the plants to the allotment
On the 10th of August – nearly a month after I started the seeds – the plants seemed ready for the move to the allotment…
I cleared the planting area of weeds and made sure the kohlrabi would be spaced about 30 centimeters (12 inches) away from the surrounding plants. As with the up-potting, I ensured that the roots were not disturbed during the transplantation and I kept the plants at their original soil depth. I didn’t add any fertilizer at this point because I felt like the soil was rich enough to sustain the growth of the plants until the harvest.
Although the heavy rain stopped, the soil in the allotment was still moist, so there was no need for me to water the plants after they went into the ground. I did water them prior to that, though, while they were still in the pots. Lastly, I mulched them with Miscanthus to supress the weeds and keep the soil moist.
Growing the plants in the allotment
The next few weeks had more sun and the early autumn was warm too. We still had rain on a regular basis and it helped plants adapt to their new home faster without me having to do much. And caring for the kohlrabi during its growing phase was almost effortless too…
Apart from removing weeds near it and apart from taking off a few yellow leaves every now and then, it grew on autopilot. Most plants had no problems, but some of them did:
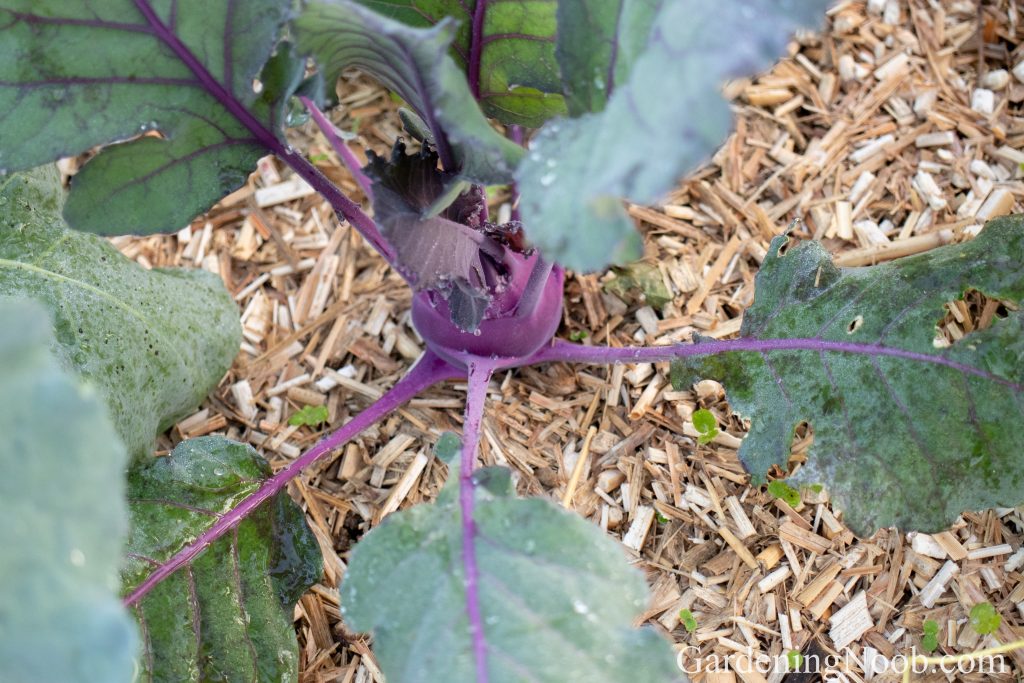
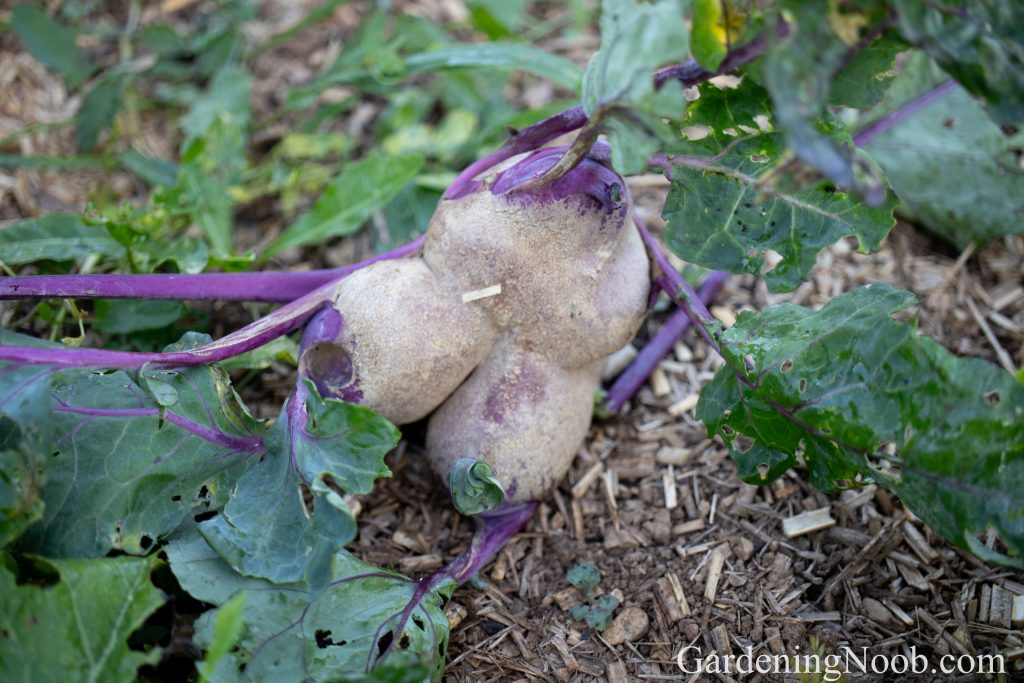
- Cracked bulbs. There were plants which developed minor crack in their bulbs. I think it was because of all the rain we had been getting ever since I moved the plants to the allotment.
- Heavily deformed bulbs. A few other plants had even more pronounced deformities. I’m not sure if this was due to some kind of a disease or perhaps a mechanical damage.
Harvesting the plants
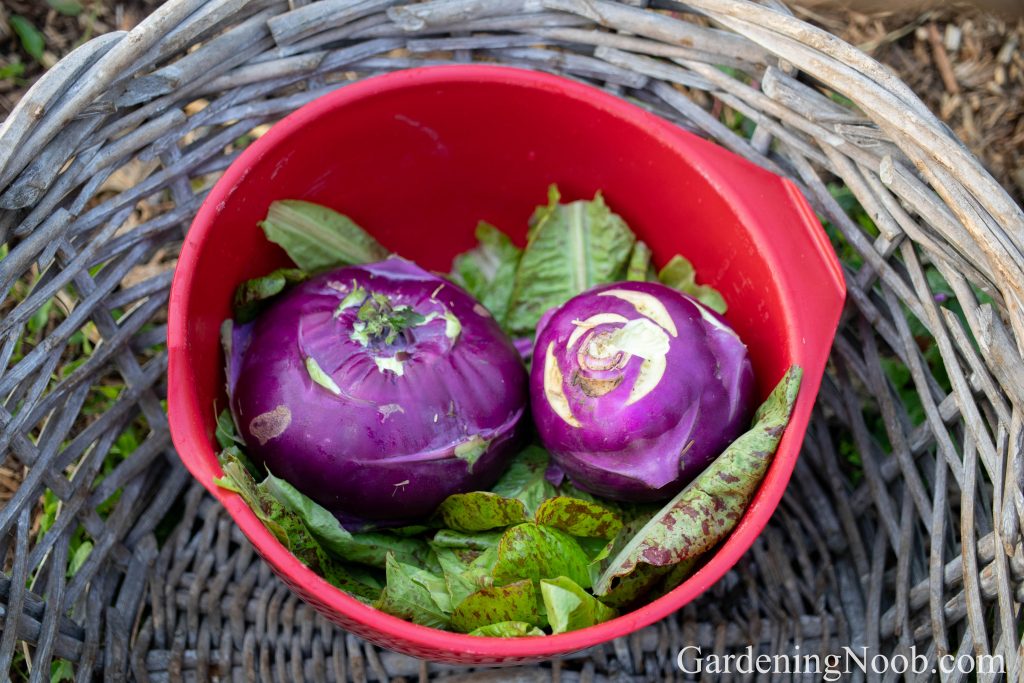
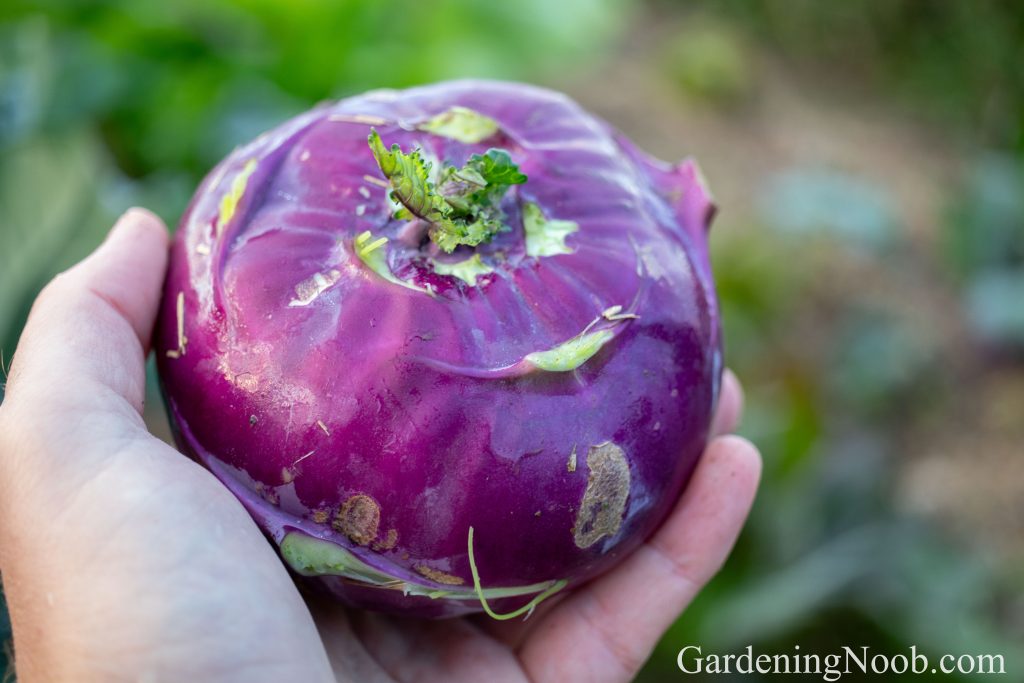
The time went on and the bulbs kept growing bigger and bigger. I pulled the first two plants up on the 30th of September – less than three months after starting the seeds. Soon after, many other plants reached the harvest size as well. I did the final harvest on the 1st of November. And there were lots of bulbs harvested in between too!
Final thoughts
When I started the seeds back in July, I was concerned that the kohlrabi would not mature before winter. But seeing how well the plants grew and how fast the bulbs got bigger, my worries faded.
It’s true, not everything went as I thought it would:
- The summer heat made raising seedlings difficult.
- Some plants developed cracks in their bulbs.
- A few plants became so heavily deformed that I had to discard them.
But overall, I was pleased to see that planting kohlrabi in summer is not much different from planting it in spring. This low-maintainence and easy-to-grow vegetable matures just as quickly in summer than it does in fall!
It’s important to point out, though, that this summer was unusually rainy. Not every summer receives as much rainfall as this one did. In fact, it is often the opposite – with droughts being much more common. I’m therefore not sure if kohlrabi would grow as quickly in dry conditions as it did in the moist – almost soggy – conditions we had this year. Perhaps I’ll discover the answer next year if we have a more typical, dry summer.