Discover the details of the seed starting technique that has changed my vegetable growing world forever
I’d like to introduce you to a very useful seed germination technique that has forever-changed the way I start vegetable seeds and grow vegetable seedlings at home. It is known as vegetable seed germination or seed starting in wet paper towel sheets.
I love it and use it ever since I first tried it – and I’m not using it just early in spring to get ahead of the season, but later on in the season as well – whenever I need new vegetable plants!
Before I dive into how I start vegetable seeds in a wet paper towel – covering everything from the step-by-step breakdown of the process, to the types of vegetables I start this way and to the precautions I take – I first want to explain why this approach has been so useful for me and why I keep using it:
I can start vegetable seeds much faster.
When I sow seeds the usual way, which means I put them directly into a pot or the garden soil, most of them need more than a week to sprout and come out of the soil as plants. The exception to this are tomato seeds, bell pepper seeds and chilli pepper seeds which need much more time – about two to four weeks.
Now, with the paper towel seed germination method, I have found that most seeds sprout and develop into a plant in less than a week. And even longer-germinating tomatoes, bell peppers and chilli peppers do it about twice as fast as they would otherwise!
I can reduce the number of empty (plantless) pots to bare minimum.
In every seed bag I buy, there are always some seeds that just don’t sprout. That is why, when I plant them the usual way, I get quite a few empty (plantless) pots or cells within a cell tray. These then just take up space, whether it’s on the balcony, in the miniature greenhouse or under indoor lights. I usually discard the soil in those pots or cell tray into the compost bin.
But with the new technique, the problem of empty pots is pretty much gone. Now, almost every seed I plant into a pot becomes a seedling!
I can identify non-viable seeds much sooner.
Every so often, I end up buying a bag of what I call “dead” seeds. In the past, when I planted these, I would wait and wait for days (or even weeks with longer germinating types of vegetables) only to realize that they would not sprout. I had wasted lots of precious growing time this way and it often lead to a delayed harvest, or worse, left us with no harvest at all.
Thanks to the paper towel method, I can determine more quickly if the seeds are non-viable. I can then start new seeds if necessary without missing their ideal planting window.
I no longer need to thin the surplus seedlings.
To address the problem of empty pots, I begin planting three or four seeds into the same pot or into the same cell of the seed starting tray. While this worked, it also created another problem…
You see, more often than not, I had multiple seedlings growing in the same pot or cell, whereas my aim was to have just one. So, I had to remove (thin out) those surplus seedlings.
I did it either by gently pulling them out or by cutting them at the base with scissors. Neither of these two thinning options is ideal. Pulling the plants out could disrupt the roots of that one remaining plant and slow its growth. Cutting them, on the other hand, leaves roots in the soil which could lead to plant disease.
The great thing about starting vegetable seeds in a paper towel is that it eliminates the need for thinning. Once I move the already sprouting seed from the towel to the soil, I am almost guaranteed to get a seedling out of it.
It helps me save money.
The paper towel technique is significantly more effective than the usual method of planting seeds directly in soil – that is the fact. With hardly any empty pots and no need for thinning out excess plants, I use fewer seeds and less soil and fertilizer to grow the same number of plants which leads to noticeable savings.
The things you need
What I like about this technique is its simplicity – you don’t need any high-tech equipment to get started. You only need the following things to benefit from it:
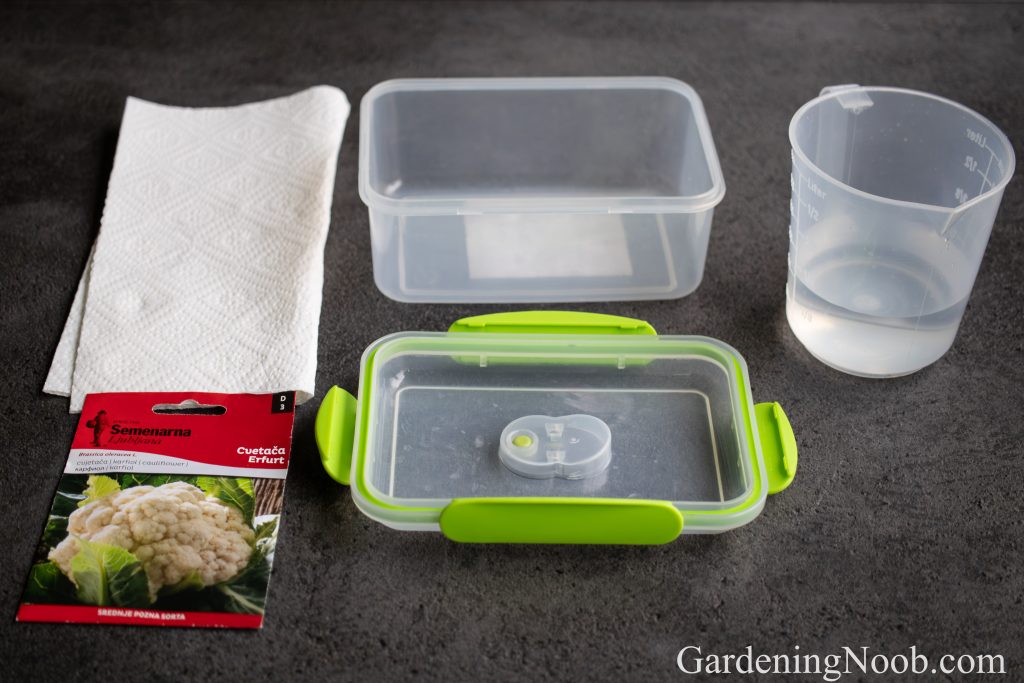
Food storage container
The first thing is an enclosed food storage container with a lid. I use a plastic one like the kind shown in the image above. It is about 20 centimeters long, 10 centimeters wide and 4 centimeters high.
In it, I can easily start enough seeds for a whole 72-compartment seed starting cell tray. What’s more, I often start different types of vegetables or varieties in the same container, but I make sure to keep the different seeds separate to prevent mixing them up.
Glass containers are good too. The main thing is that they have lid, then they work As long as they have a lid, then they work just fine.
Paper towels
The second thing you’ll need is paper towels or paper napkins. I use plain, unscented paper – the most basic and the cheapest kind I can get. You won’t need many sheets, though. Three to four are more than enough for the type of container I use. I heard that some people use fabric kitchen towels too, but since I have never tried them, I can’t say whether they work or not.
Seeds
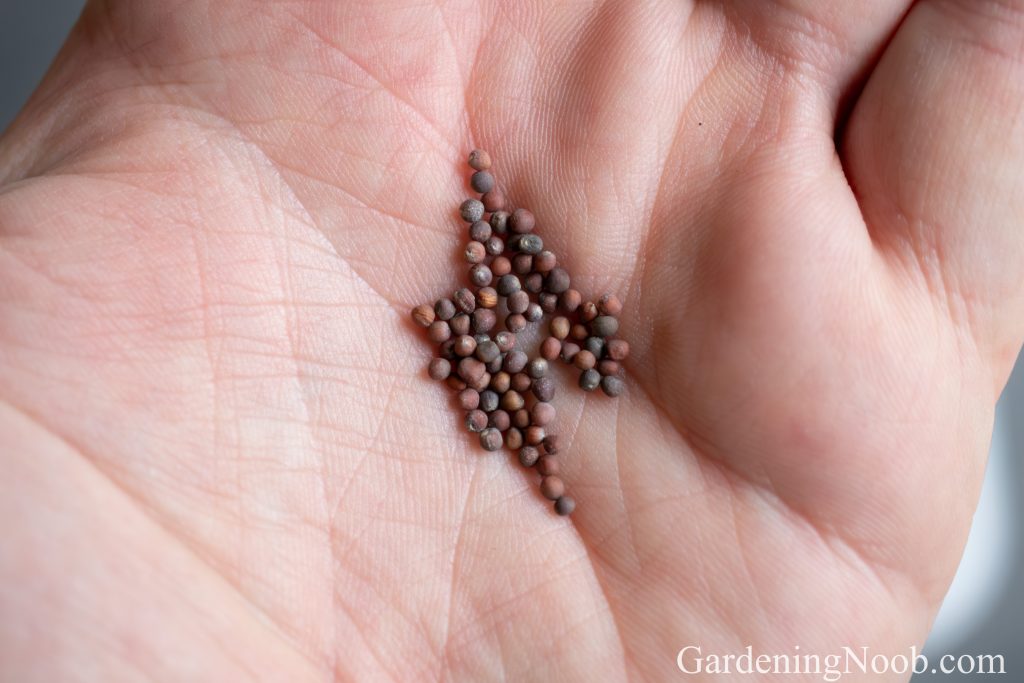
The third thing is the seeds themselves. While this technique could likely work for all vegetable types, I specifically use it for these:
- Brassicas: cabbage, broccoli, cauliflower, brussel sprouts, kohlrabi, rutabaga, kale and chinese cabbage)
- Gourd family vegetables: squash, pumpkins, zucchini (courgettes), watermelons, melons and cucumbers.
- Nightshade family vegetables: tomatoes, eggplants (aubergines), bell peppers and chilli peppers.
- Others: Fennel
There are two reasons why I use this technique only for the seeds listed above:
- They are either scarcer and thus more expensive. Each seed bag often contains only a handful of seeds, especially if the variety is more unique, which makes each seed precious.
- Or they have a very low germinaton rate.
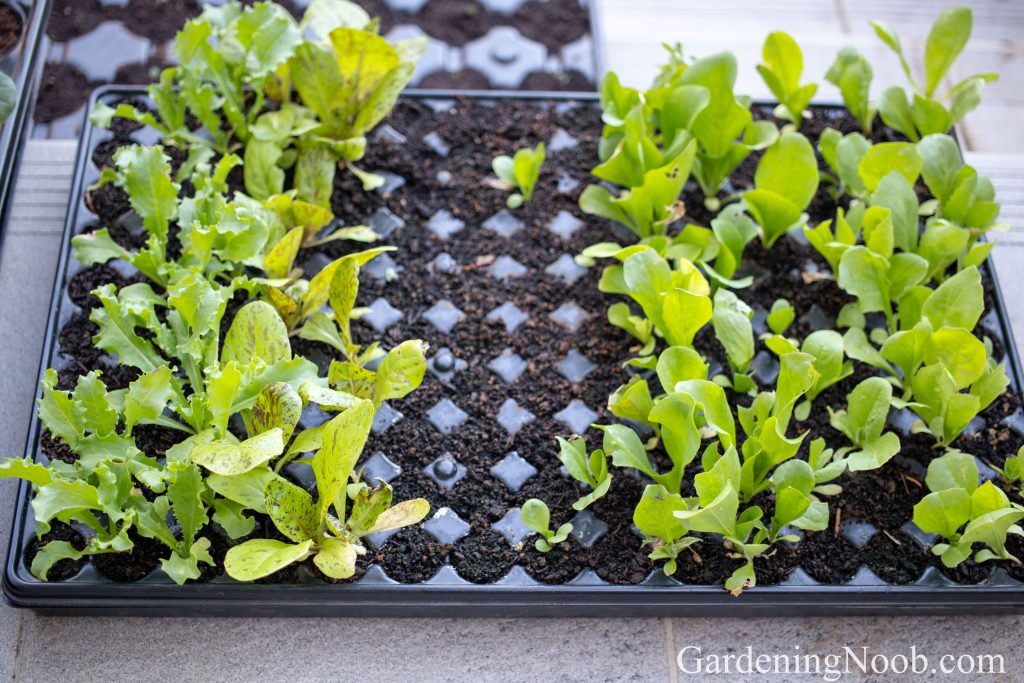
With that said, I don’t use this technique for vegetables with more plentiful seeds, such as lettuce, endive, spinach and leeks for instance. With these, there’s no need to get the most out of each seed. This is because each seed bag contains so many seeds that it would be impossible for me to plant every one of them before their viablity diminishes.
Warm place
The last thing you’ll need is a room with a temperature around 21 to 23 degrees Celsius (69 to 74 degrees Fahrenheit). In such a room, you can place the container with seeds literally anywhere, and it will work well.
However, in winter, when even a heated room can feel chilly, I find it best to place the container on a heat source, such as a heating radiator. This way, the seeds sprout incredibly fast – sometimes overnight.
In summer, though, when it’s warm even at night, I keep the container outside, but always in shade. This is important because direct sunlight can dry out the paper towel quickly and thus undo all your efforts.
The step-by-step details
Now that I have explained why I use this technique and which seeds I typically use it for, it’s time to dive into the step-by-step details of the entire process:
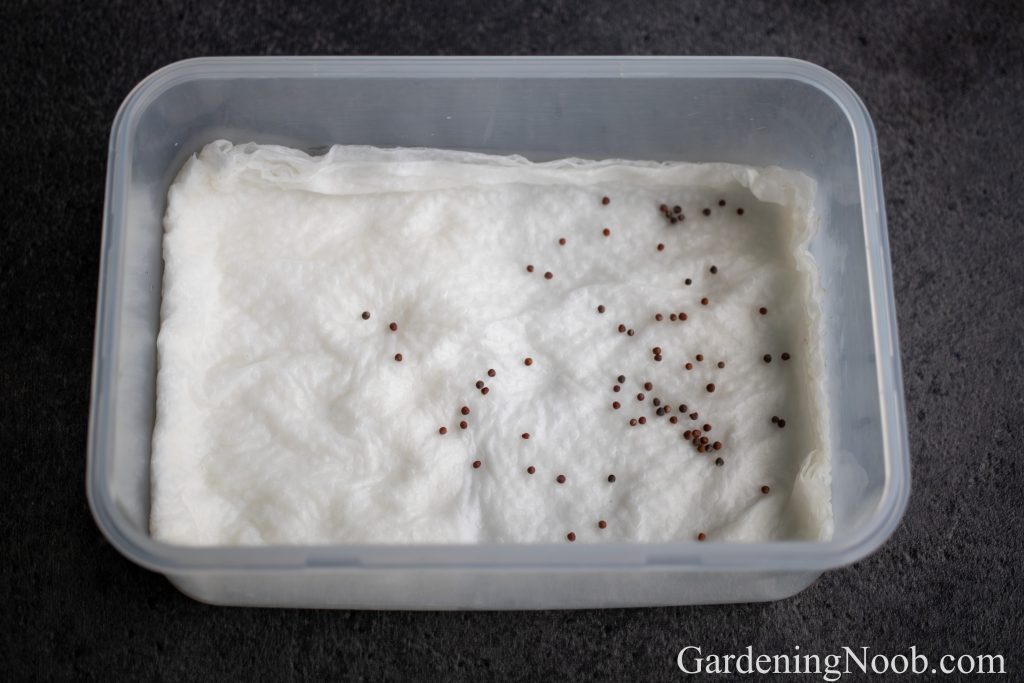
Step #1: Prepare the container and place the seeds in it
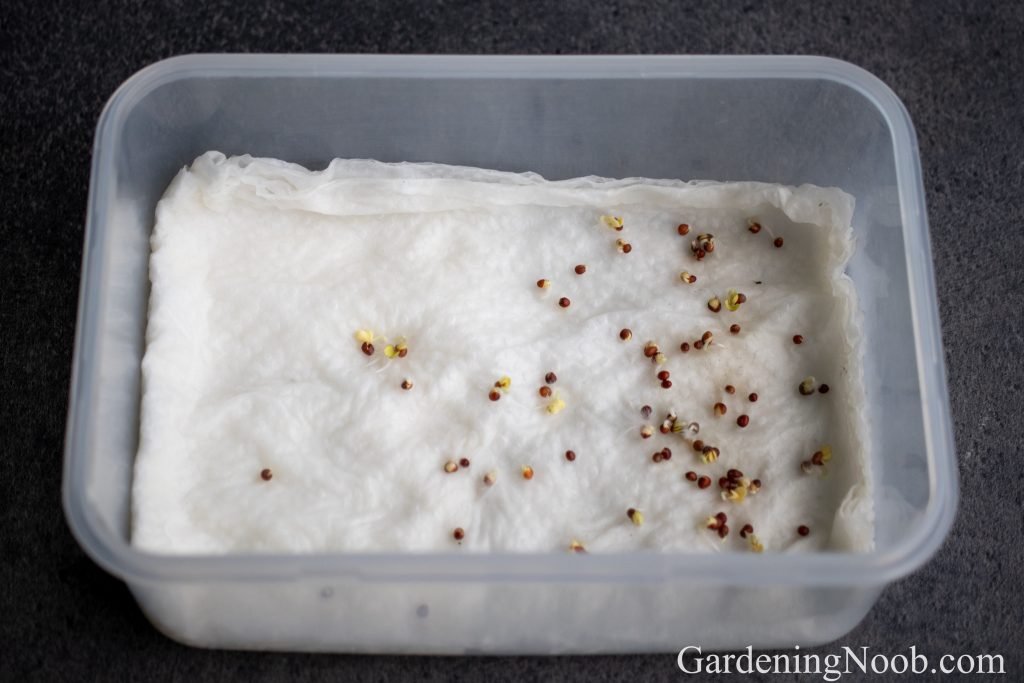
In the first step, I get the container ready. I line its bottom with three to four sheets of paper towel. Then I gently pour water over the sheets, just enough to make the whole paper moist, but not soaking wet.
Next, I spread the seeds over the moist paper. After that, I cover the container with its lid. I leave the lid slightly open to allow for some air circulation which helps reduce the risk of mold forming within the container.
Lastly, depending on the season, I place the container in the most suitable location. I place it on the heating radiator in winter, spring and autumn. And I leave it outside in the shade in summer.
Step #2: Check the container on a daily basis
In this step, the most important thing I do is check the container every day. I check whether any of the seeds have started sprouting and if the paper towel seeds are still moist…
With high-quality brassica seeds, gourd-family seeds and fennel seeds things tend to happen quickly – they usually sprout within three days, and sometimes even in just a day!
Unless I keep the container on a very hot heating radiator and forget to cover it with the lid, there is no need to re-moisten the paper towel because the seeds will have sprouted before the sheets have the chance to dry out.
However, with nightshade-family vegetable seeds that take longer to germinate, I do need to keep a close eye on how moist are the paper towel sheets. Eggplants typically sprout within a week. Tomatoes take about two weeks, and bell peppers and chilli peppers can take up to three weeks. So, the initial moisturizing is not enough for these.
I re-moisted the paper towels as soon as I notice that they are starting to dry out, which tends to be about once a week. With bell peppers and chilli peppers, I sometimes find it necessary to change the container and the paper towel sheets entirely after a week or two to prevent mold formation.
Step #3: Prepare the pots or cell tray for planting
While I wait for the seeds to sprout, I prepare the pots or seed starting cell tray for planting.
Step #4: Plant the sprouted seeds into the soil
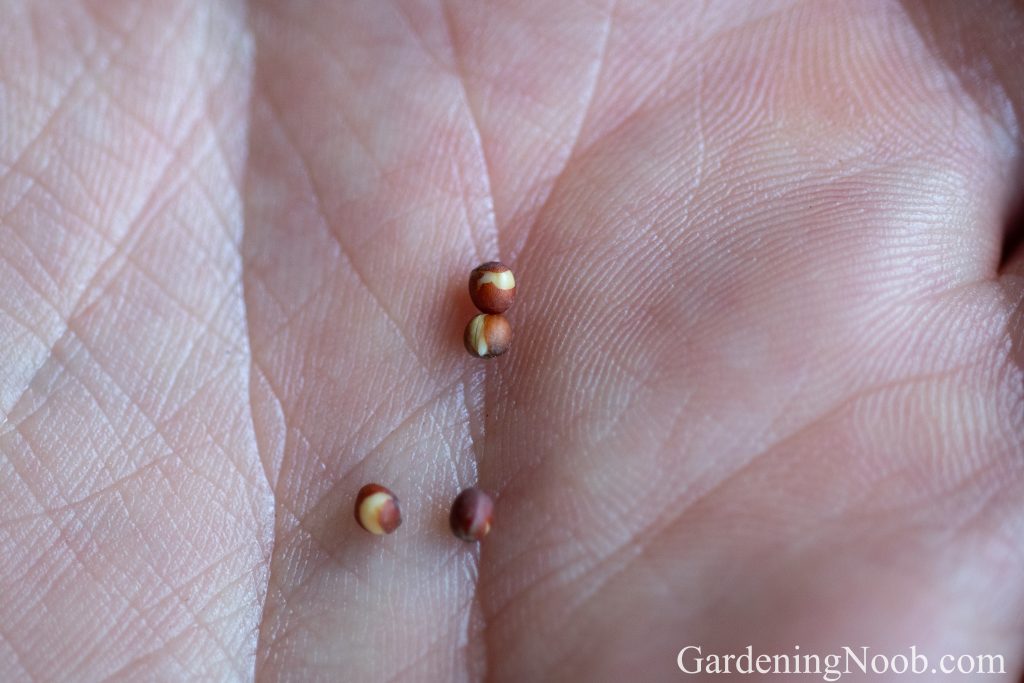
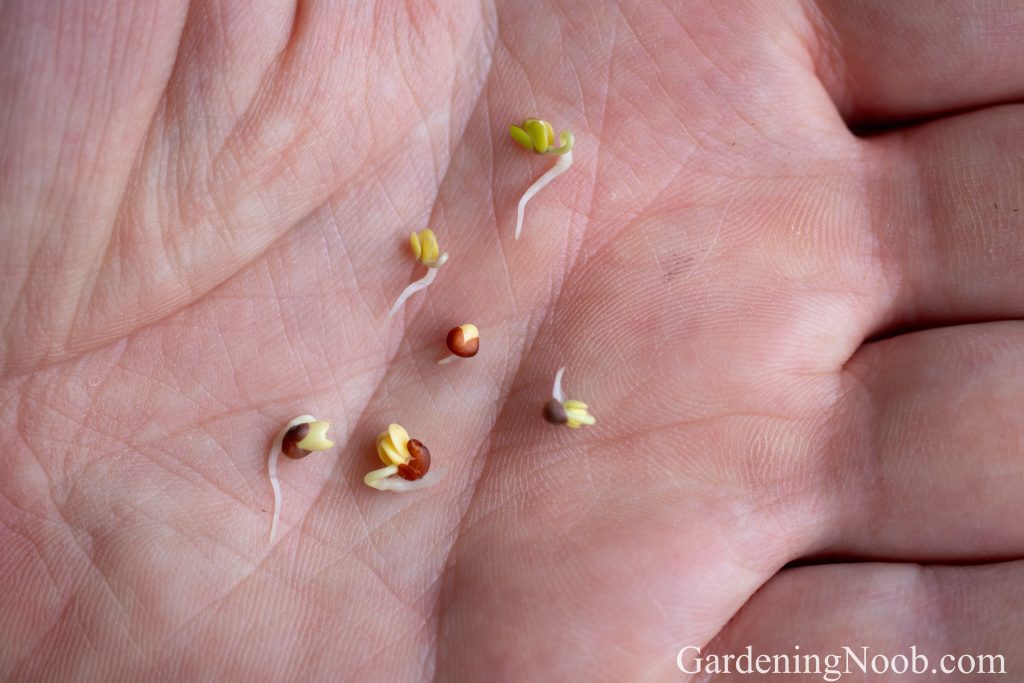
Once I see a small, white root coming out of the seeds, I know the seeds are ready for planting. At this point, I have about one to two days at most to move them to soil-filled pots or a cell tray. The sprouting seeds are super delicate during this stage, so I need to handle them with care.
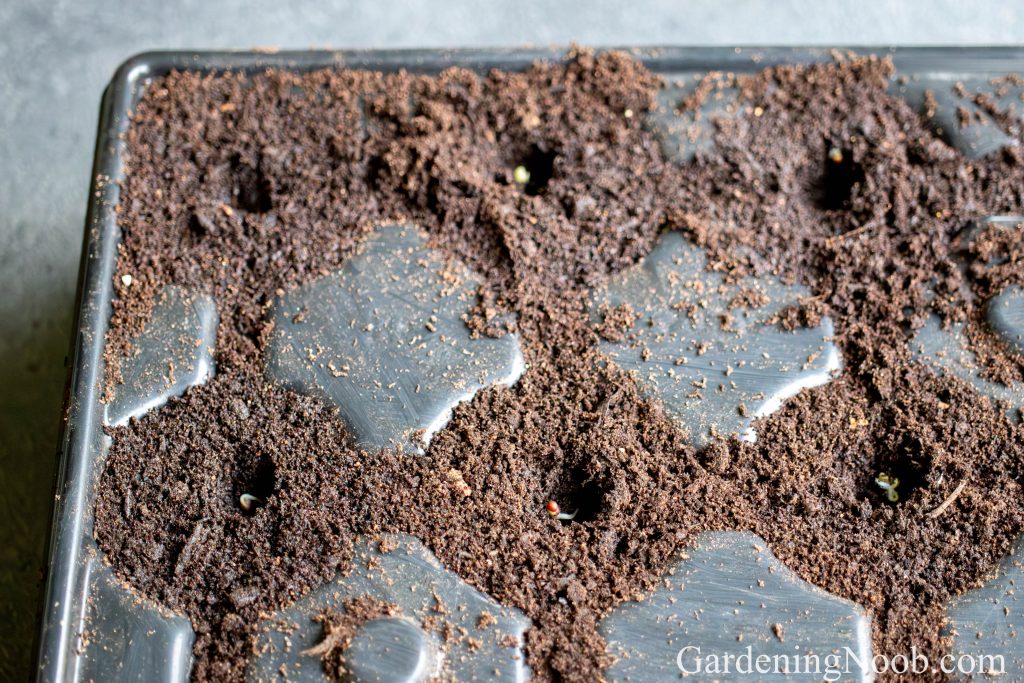
I begin by watering the soil thoroughly from the bottom and wait until it is moist. Then, I use a pencil-like wooden stick to create small holes in the soil – no deeper than one centimeter or 0.4 inches – and gently place one sprouted seed into each hole.
Then, I cover each hole with some more soil and press it down lightly. Finally, I remove any excess water that the soil hasn’t absorbed and move the pots or the cell tray to their designated growing spot.
That’s it!
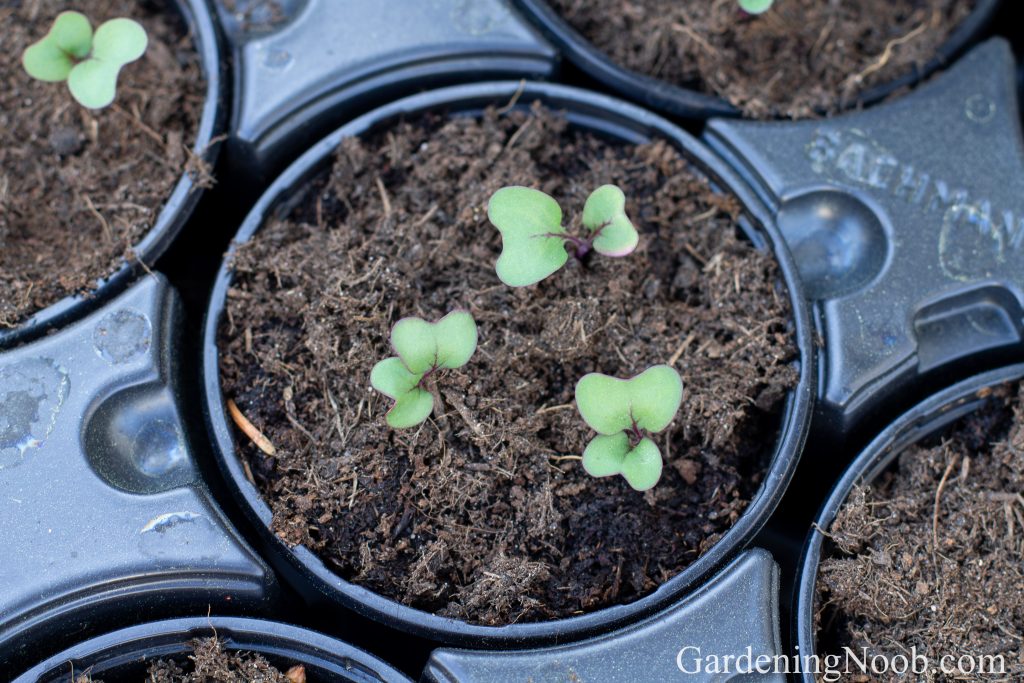
Once I plant the seeds in the soil, they continue to develop and grow on their own. Some might take a little longer, but most emerge as seedlings out of the soil within three days.
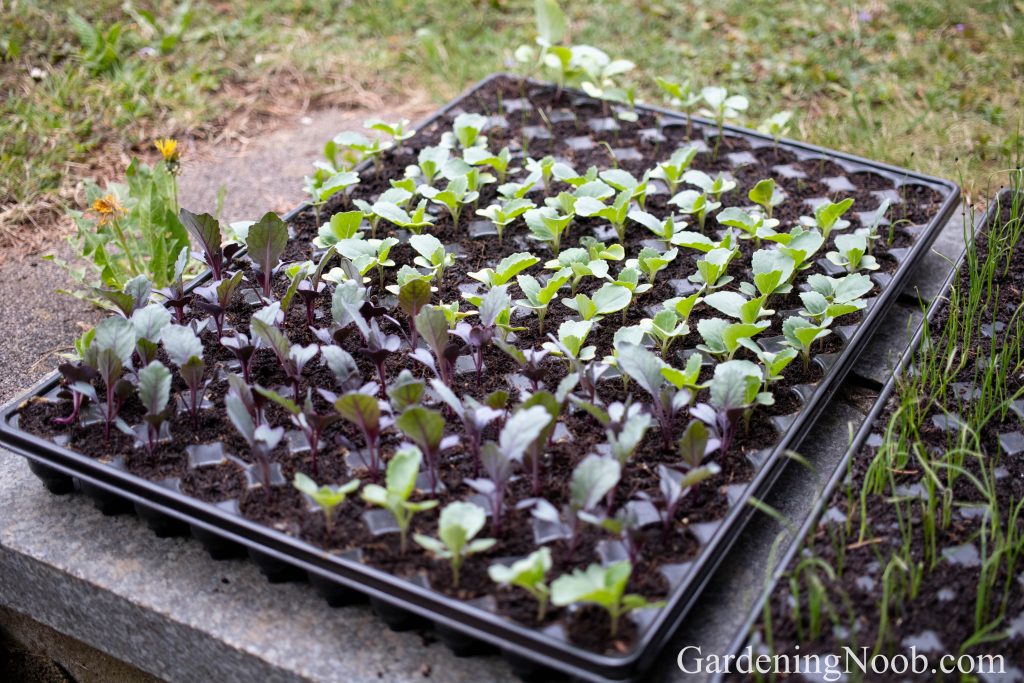
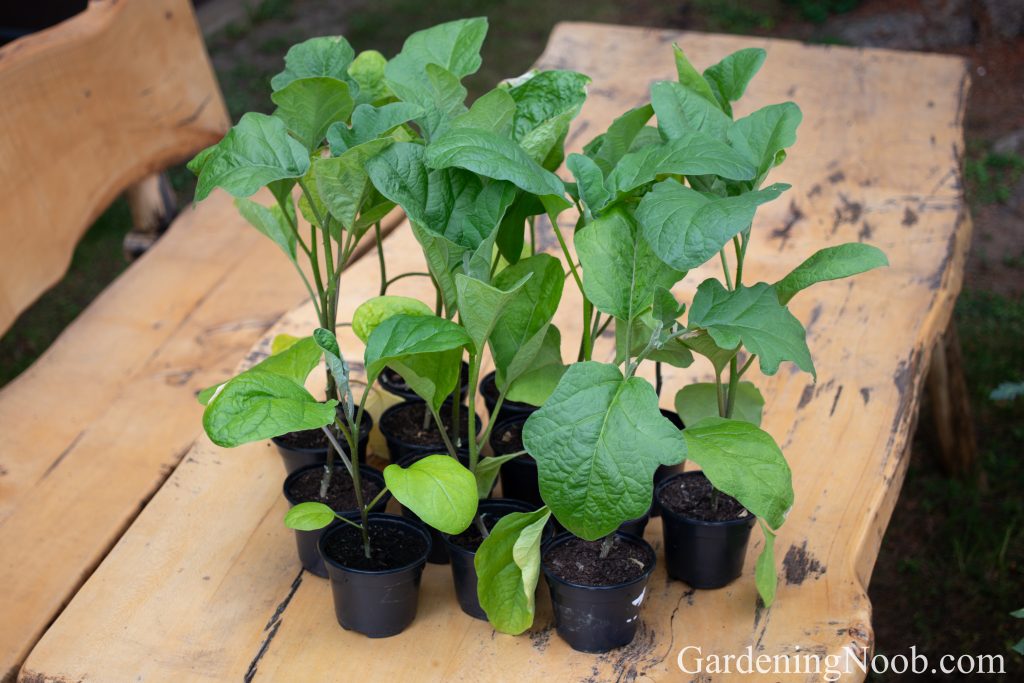
With the wet paper towel seed germination technique, I am able to raise vegetable seedlings faster than with the traditional approach. But perhaps the biggest benefit is the significant reduction in empty pots or cells. For example, when I use a 24-compartment cell tray, only two cells typically remain empty. The rest of the seeds sprout and turn into plants successfully, which, for me, is a sure sign of success!