
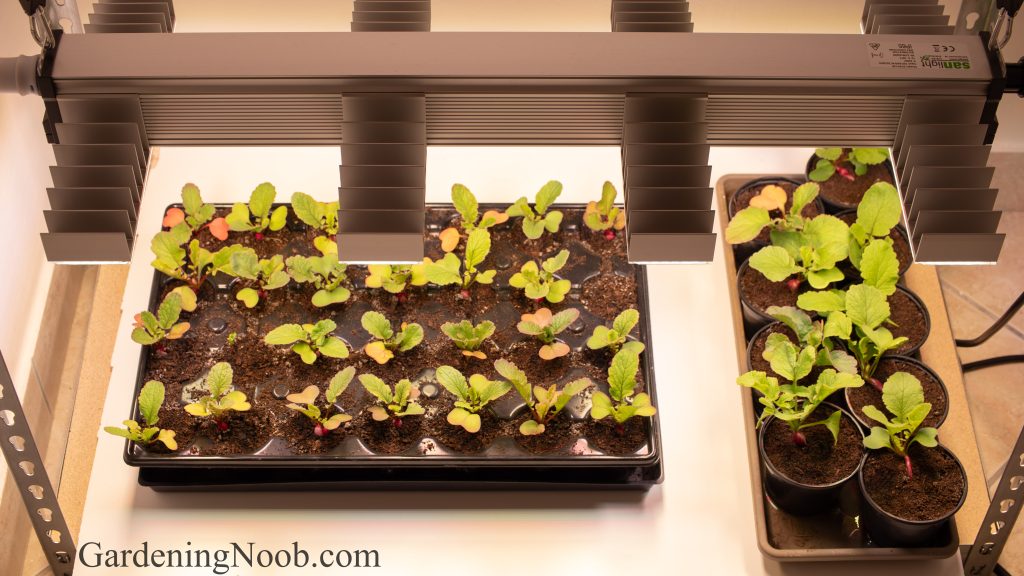
• Skip to primary navigation
  • Skip to main content
  • Skip to primary sidebar
  • Skip to footer
GardeningNoob.com

GardeningNoob.com

Organic vegetable gardening for beginners

  • Vegetable Seed Starting Guide
  • Free ebook
  • Blog
  • About me

Can you grow radish from seeds indoors?

Published on May 19, 2024

I was bored this winter, so I decided to try and grow radish from seeds in pots indoors under grow lights. I had never done it before, so I had no idea what to expect. My biggest concern was that the bulbs might turn out spicy or woody, or that the plants would start flowering before even developing the bulb because of the relatively high temperature. You see, the temperature in the room where I keep my indoor vegetable seed starting setup is usually around 20 degrees Celsius (68 degrees Fahrenheit), which may be a bit too high for this cool-season root vegetable…

Turns out, I did just fine! The bulbs weren’t exactly prize-winners in terms of size or looks, but they tasted great – especially paired with the lettuce that I also grew inside this past winter!
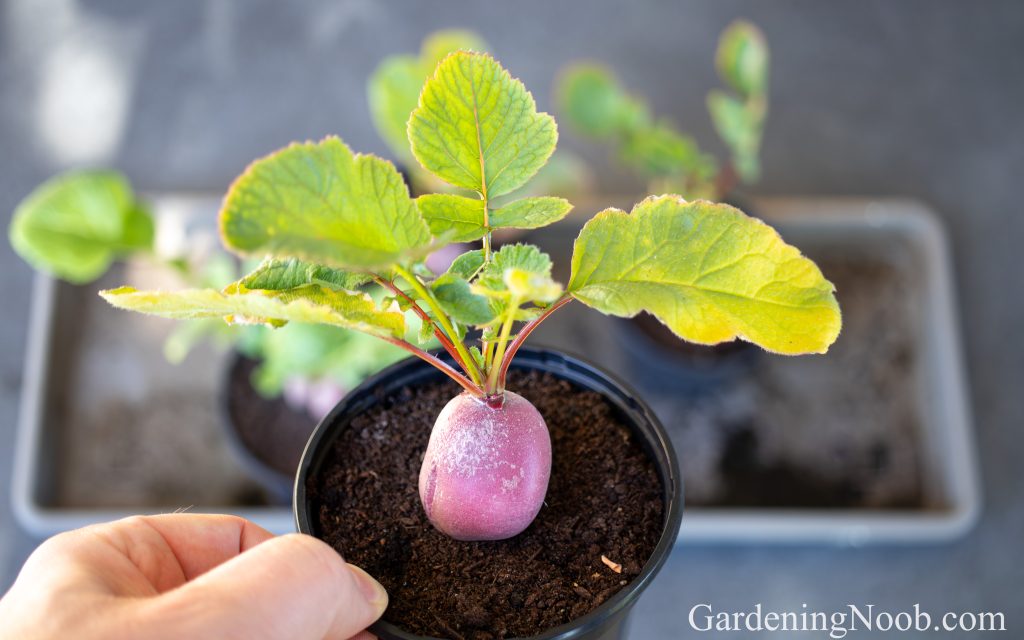
I had grown this radish plant entirely indoors. I started it on the 2nd of January 2024 and harvested it on the 21st of February 2024. It wasn’t perfect. Its bulb was a bit cracked, and the leaves lacked that vibrant green color too. But it tasted just the same as those you get from the garden. I took this image on the day of the harvest.

So, my answer is yes, you can grow this root vegetable from seeds indoors in pots, but only if you provide enough light – either from the sun or from quality grow lights. If you’re interested about trying it yourself, or just want to know more about it, then keep reading, and I will share exactly how I did it…

The containers and the soil I used
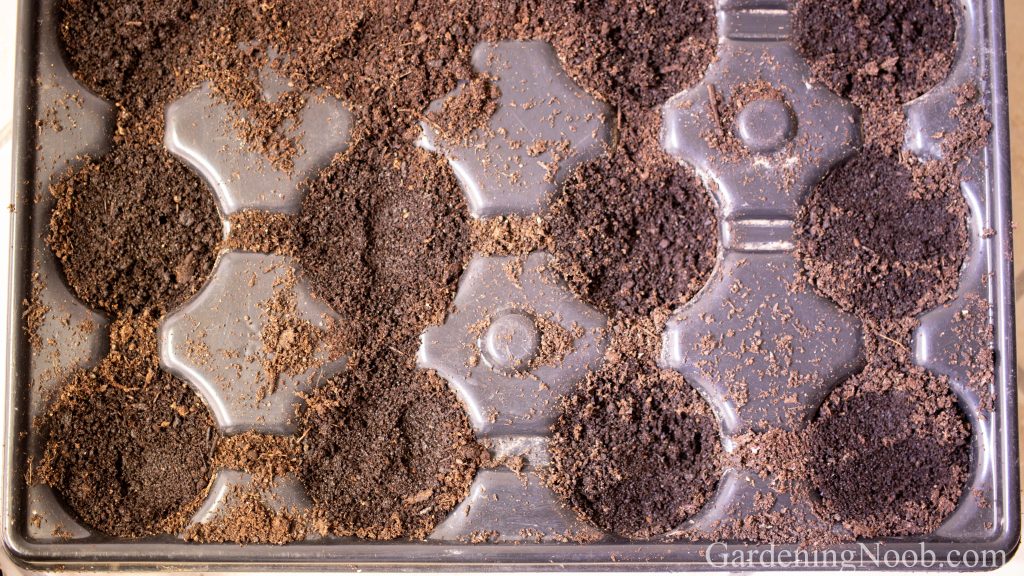
This is part of the vegetable seed starting cell tray that I used to grow radish indoors. It has 28 cells, with each being 6.5 cm (2.6 inches) tall and 5.5 cm (2.2 inches) wide at the top.

I initially intended to plant only in this vegetable seed starting cell tray. But since I had lots of extra pre-germinated seeds left from the paper towel method (I will explain this in more detail in the next section), I decided not to waste those seeds. Instead, I planted them in a few larger, single pots that you can see on the image below.
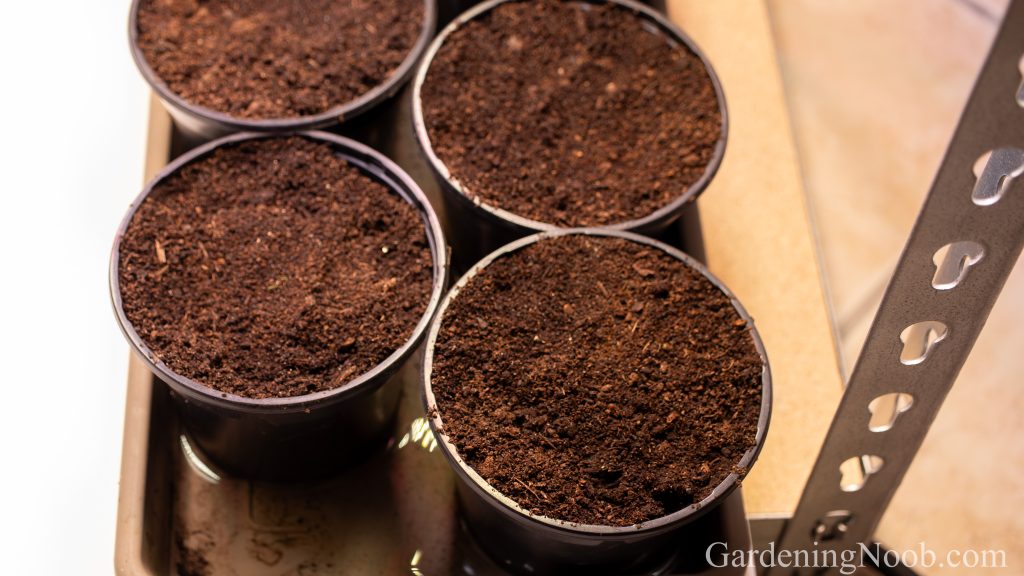
These are the single pots that I also used for growing radish. At about 7.8 cm (3.1 inches) tall and with tops approximately 10 cm (3.9 inches) wide, they are noticeably larger than the cells of the tray.

I filled both the cells and the pots with a mix of potting soil and earthworm castings. I was quite generous with the earthworm castings because I wanted the radish to have plenty of nutrients to produce the bulbs. I used it as a fertilizer in a 1:1 ratio with the soil.

How I planted the radish seeds

The next step was to plant the seeds. I chose the round red radish – nothing exotic, just a standard, medium-sized variety that I like – and then planted the seeds in two different ways:

  • Direct sowing. For half of the cell tray, I sowed the seeds directly into the soil. I placed two seeds in each cell to minimize the number of “empty, plantless” cells. I was well aware that if both seeds germinated, I would need to thin the plants later, but that was still preferable to having empty pots.
  • Paper towel seed starting. For the remaining half of the cell tray and the single pots, I pre-germinated the seeds using the paper towel seed-starting method. I started with the paper towel method on the same day as the direct sowing. I planted them only after they had sprouted.
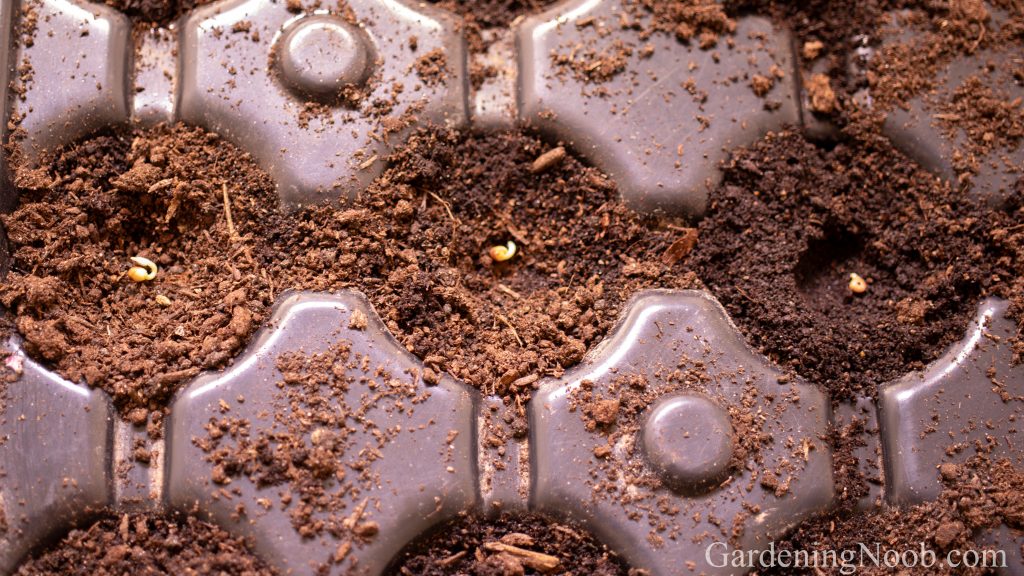
This was the first time I started radish seeds with the paper towel method. It took less than two days for them to sprout. I planted the ones that went into the cell tray as soon as they sprouted — on the 4th of January. And the ones that went into the single pots, I planted two days later—on the 6th of January.

I watered the cell tray thoroughly right after direct sowing and immediately placed it under the grow lights. The soil was still moist enough two days later when the seeds from the paper towel had sprouted and were ready for planting. So there was no need to water again. However, had the soil been dry, I would have definitely needed to water it again.

As mentioned, I also planted a few leftover seeds from the paper towel method into the the larger, single pots. That was four days after direct sowing. I watered these pots thoroughly too and then placed them under the grow lights as well.

How I cared for the radish plants

Then I waited for the radish plants to emerge from the soil. I didn’t have to wait long, though. The first ones appeared four days after direct sowing, and the rest followed within a few days. To my surprise, the seeds I started with the paper towel method did not sprout any faster than those I sowed directly. In fact, the direct-sown ones came out of the ground a day earlier!
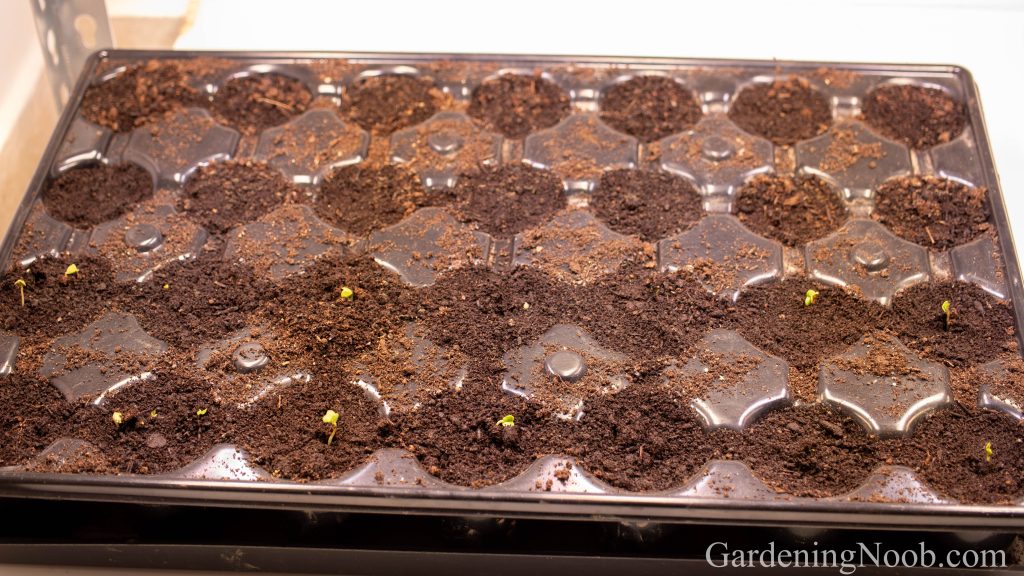
The seeds I sowed directly (front two rows) came out of the ground in just four days (on the 6th of January), while the ones I started with the paper towel method (back two rows) were nowhere to be seen yet. Although the direct-sown ones were slightly faster, I did have to thin them in the days that followed.

By the end of the first week, I could already thin the plants that grew from the directly sown seeds. I removed all the extra plants so that there was only one radish growing in each cell, which gave them enough room to grow and develop properly.
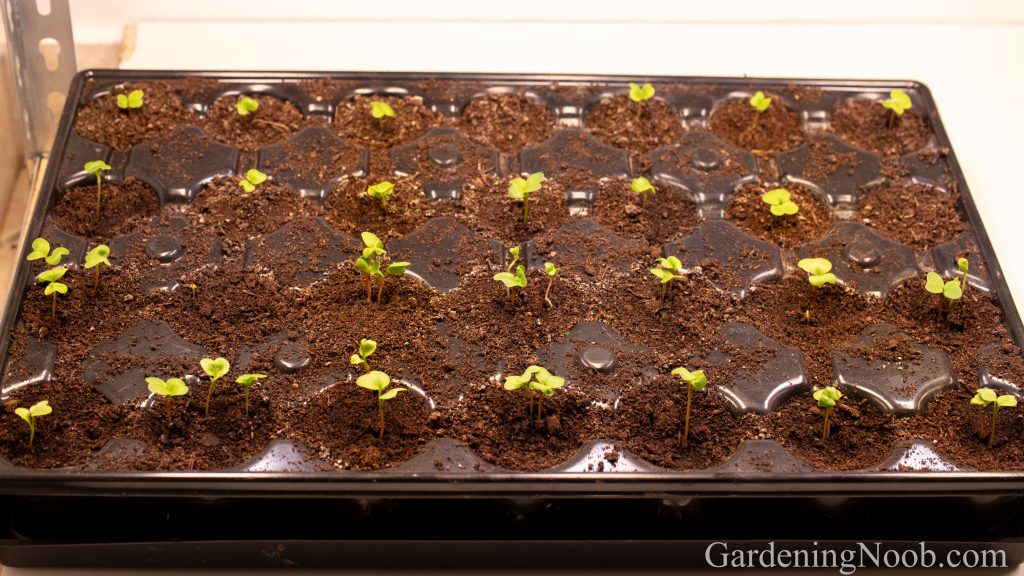
Two days later, on the 8th of January, the seeds started with the paper towel method turned into plants as well. Although they needed a bit more time, they were not much smaller than the direct-sown ones. I took this photo right before thinning.

Everything went smoothly from then on, and all I had to do in the weeks that followed was:

  • Water the plants about twice a week.
  • Keep the grow lights on for about 12 hours a day.
  • Occasionally remove the yellow leaves from the plants.

And that was basically it.

When I harvested the radishes

The plants grew relatively fast. Most of the bulbs in the cell tray started to take on a nice, round shape. However, the ones in the single pots had less rounded, more elongated bulbs, but noticeably bigger leaves.
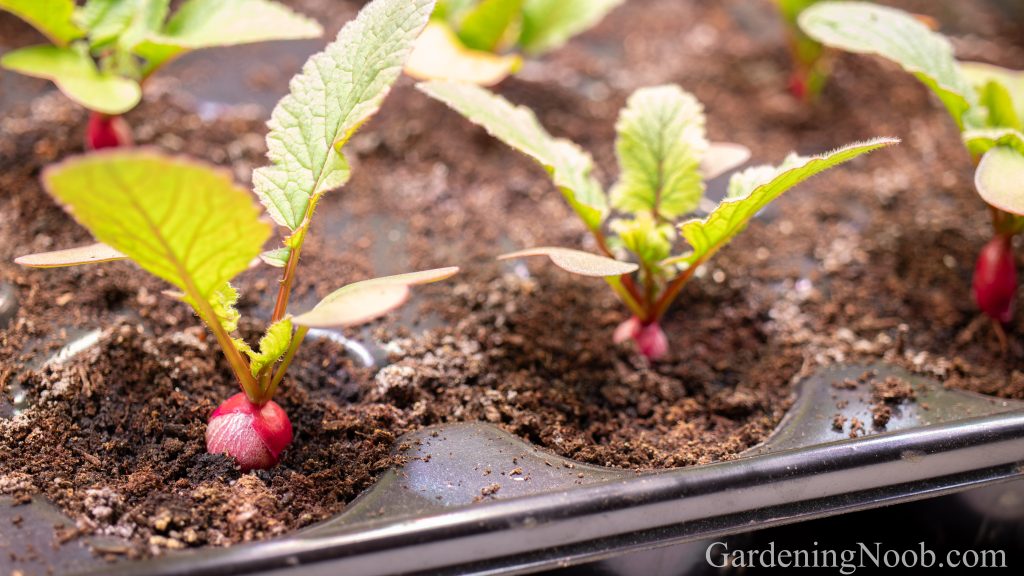
This is how the radish looked on the 27th of January. Although the bulbs were still relatively small, I could definitely have started picking them at that time. And the leaves would have been useful as salad greens too!

Then, three and a half weeks after direct sowing, I decided to move the cell tray and all but four of the plants in the single pots out to the miniature greenhouse. You see, I needed more space under the grow lights because the lettuce needed transplanting into bigger pots. Plus, the weather was favorable. While it was still winter, there was no hard freezing and I knew the plants would survive without problems…
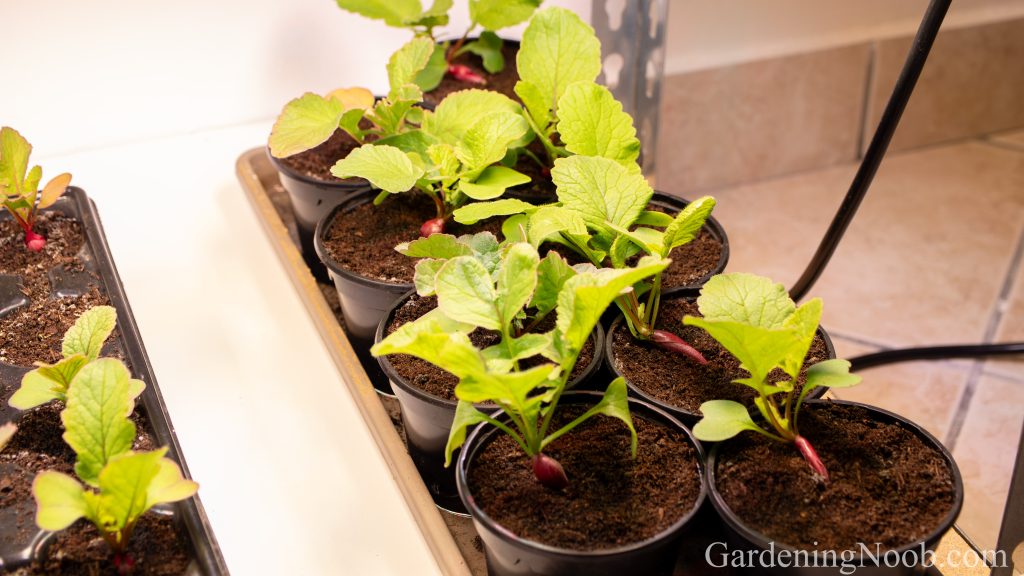
There was no visible difference in size between the plants that grew from the seeds I sowed directly and those that grew from the seeds I pre-germinated on the wet paper towel. However, there was a difference between the plants that grew in the cell tray and those that grew in larger, single pots. The ones in the single pots were bigger, but most of them had elongated bulbs. I don’t know why — perhaps because I left them on the paper towel for two additional days before planting them in the soil.

I let the remaining four plants inside grow for about three and a half more weeks before harvesting them on the 21st of February. I could have done it earlier – they were definitely the right size – but I wanted to see if the bulbs would continue to grow. And I was also curious how they would compare to the ones I moved outside.

What I learned during this indoor radish growing experiment

Despite the worries that my indoor growing environment was too warm for radish (I did try to make it a bit cooler though by keeping the window open during the day when the grow lights were on) the plants managed to develop bulbs. The bulbs – except for one – were deformed a bit, but they all tasted great, no different than the ones grown outside in the garden!

These are the four plants that I kept indoors under grow lights the entire time — from the 2nd of January to the 21st of February. Only one has a (nearly) perfect size and shape. The other three are more seriously deformed, likely due to uneven watering and perhaps the higher growing temperature as well. We ate all of them, though, despite their irregularities.

As far as size goes, the bulbs of the indoor plants were:

  • slightly bigger when compared to those I planted in single pots and then moved outside in the miniature greenhouse.
  • noticeably bigger than those I planted in the cell tray and then moved outside in the miniature greenhouse.
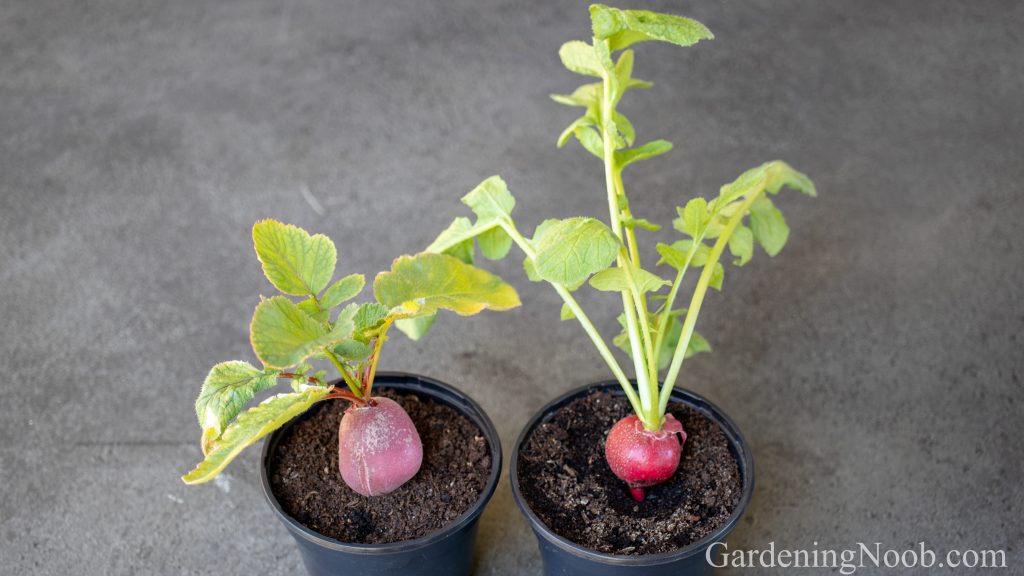
The radish on the left grew inside for the whole eight weeks. The one on the right spent its last three and a half weeks outside. The indoor-grown radish is definitely bigger. But when you look at the red color of the bulb and the green color of the leaves, it is obvious that the outdoor radish looked much better — it had a rounder bulb and longer, healthier-looking leaves.

This made me realize that the size of the growing container matters. The bigger the growing container, the faster the radish seems to grow and the bigger its bulb is. If I ever decide to grow radish indoors again, I will definitely go with the larger, single pots. They are the perfect size for growing radish in pots.

What’s interesting, though, is that the plants I moved outside – regardless of the container – looked healthier. The bulbs had a brighter red color. And the leaves were noticeably greener. I guess the cool, sometimes even freezing outside weather did them good. They are a cool-season vegetable, after all.

The seed starting cell tray did alright too. Not only was it very convenient to move around and water, but the bulbs – although smaller – were still big enough to eat and definitely had substance to them.
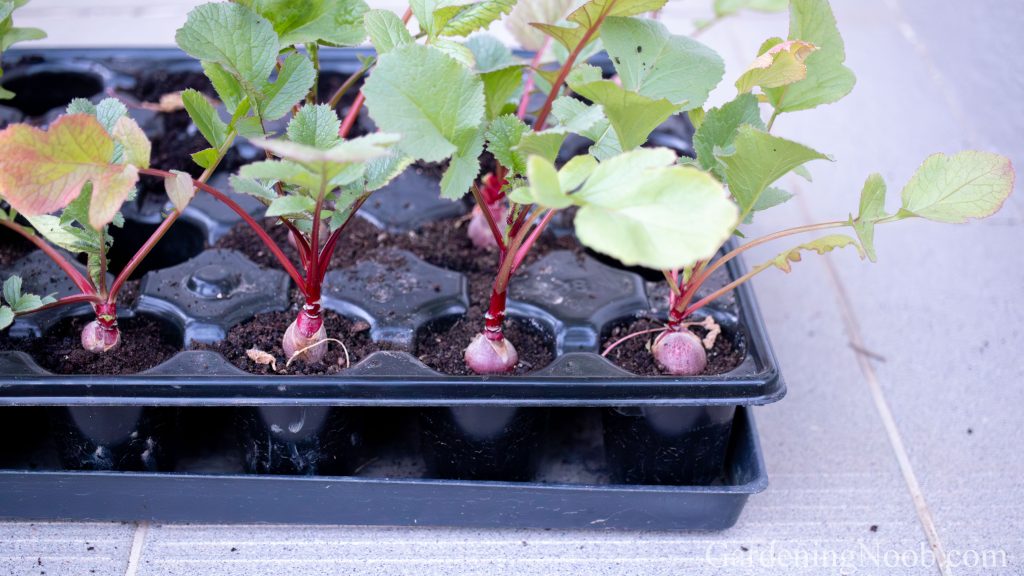
Now, if you’re wondering how well the radish that I moved outdoors performed, it did very well. The plants and their bulbs kept growing for more than three months without bolting (flowering). The ones in the cell tray got quite big too — I guess they just needed more time — and we were able to keep harvesting them all the way up to the middle of April! Photo taken on the 2nd of April.

That’s it. I hope you found something useful from this indoor growing experiment of mine. It proved that – if you have the grow lights for it or a very sunny windowsill – you can definitely grow radish from seeds indoors. The plants grow fast (I was able to grow them from seed to harvest in less than two months) and they do not require a lot of space either. Keep in mind, though, that they are very likely going to start flowering sooner than the ones grown outside in cool weather, so don’t wait too long to harvest them!

Primary Sidebar

Recent blog posts

  • Why This Strawberry Plant Produced Fruit in a Small Pot
  • Why One Chili Seedling Grew Bigger Than The Rest
  • What To Do When Chili Seedlings Start Flowering Too Early
  • How I Save Severely Wilted Vegetable Seedlings Fast
  • What a Perfect Homegrown Lettuce Seedling Looks Like

Stay in touch!

  • Facebook
  • Instagram
  • Pinterest
  • Twitter
  • YouTube

Footer

Articles

  • Soil preparation for leafy greens
  • Pot marigolds
  • Chard
  • When & How To Plant Chard
  • How To Start Chard Seeds Indoors
  • How To Grow Chard In Pots And Containers
  • How To Care For Chard Until The Harvest
  • When And How To Harvest Chard
  • How To Prepare The Garden For Growing Pot Marigolds?
  • When And How To Plant Pot Marigolds?
  • How To Care For Pot Marigolds?
  • When And How To Pick Pot Marigolds?
  • How To Collect And Store Pot Marigold Seeds
  • How To Prepare The Garden For Growing Arugula
  • When To Plant Arugula?
  • How To Plant And Grow Arugula
  • When To Plant Spinach?
  • When To Plant Or Sow Lettuce
  • About me
  • How To Use Sheep Wool In The Vegetable Garden
  • How To Plant Lettuce In The Garden
  • Free Home Vegetable Seed Starting Ebook
  • How To Germinate Vegetable Seeds In Wet Paper Towel
  • Vegetable Seed Starting Guide
  • The Pros And Cons Of Vegetable Seed Starting
  • Miniature Greenhouses As Cold Protection For Vegetable Plants
  • My Indoor Vegetable Seed Starting Setup
  • SANlight EVO Grow Lights Review
  • How To Propagate Strawberry Runners Into New Plants
  • Where To Grow Vegetable Seedlings From Seed Outside
  • How To Grow Lettuce in Pots
  • How Long Do Lettuce Seedlings Take To Grow?

Blog posts

  • Why This Strawberry Plant Produced Fruit in a Small Pot
  • Why One Chili Seedling Grew Bigger Than The Rest
  • What To Do When Chili Seedlings Start Flowering Too Early
  • How I Save Severely Wilted Vegetable Seedlings Fast
  • What a Perfect Homegrown Lettuce Seedling Looks Like
  • Can you grow radish from seeds indoors?
  • The shelf life of musquee de provence pumpkins
  • Is summer a good time to plant kohlrabi?
  • The winter lettuce sowing experiment
  • What I Learned About Growing Squash This Year
  • My parsley seed collecting and saving project
  • Two surprising facts about parsnip
  • The best squash harvest ever
  • The help from the compost heap
  • This year’s self-seeders
  • The vertical dimension in my garden
  • Does sheep wool work in vegetable gardening?
  • The new gardening season begins…
  • Why I now like chard even more…

Useful Links

Privacy Policy

Stay in touch!

  • Facebook
  • Instagram
  • Pinterest
  • Twitter
  • YouTube

Copyright © 2026 ·

I am using cookies to give you the best experience on my website.

You can find out more about which cookies I am using or switch them off in .

GardeningNoob.com
Powered by  GDPR Cookie Compliance
Privacy Overview

This website uses cookies so that we can provide you with the best user experience possible. Cookie information is stored in your browser and performs functions such as recognising you when you return to our website and helping our team to understand which sections of the website you find most interesting and useful.

Strictly Necessary Cookies

Strictly Necessary Cookie should be enabled at all times so that we can save your preferences for cookie settings.

3rd Party Cookies

This website uses Google Analytics to collect anonymous information such as the number of visitors to the site, and the most popular pages.

Keeping this cookie enabled helps us to improve our website.